What you need:
- Ledger Nano S / Ledger Nano X
- Chrome installed
- MetaMask installed
Step1:
Plug your Ledger into your computer. Ensure it powers on.
Step2:
Select the Ethereum application on your ledger, push down on both buttons to open the application.
Step3:
Open settings menu of Ethereum app, make sure ‘Contract data’ is turned on.
Step4:
Open MetaMask, click your avatar in the top right corner of MetaMask. A menu will be opened up, then click on 'Connect Hardware Wallet’.
Step5:
Click on the ‘Ledger’ button to select it , and then click ‘CONNECT’

Step 6:
Choose an account, then click ‘Unlock’.

You’ve now connected your Ledger to MetaMask.

Step 7:
Click on ‘Add Token’ , it will pop up a new page.


Step 8:
Then you need to fill the token contract address on ‘Custom Token’ tab. You can find the contract address of ERC-20 token QKC on etherscan.io https://etherscan.io/token/0xea26c4ac16d4a5a106820bc8aee85fd0b7b2b664
ERC-20 QKC contract address is: 0xea26c4ac16d4a5a106820bc8aee85fd0b7b2b664
When you fill “Token Contract Address” ,“Token Symbol” and “Decimals of Precision” boxes will automatically filled.


Click ‘Next’ , ‘Add Tokens’ , then you will successfully add ERC-20 QKC !
Step 9:
Click button ‘Send’ , then fill amount and choose transaction fee on ‘Send Tokens’ interface.
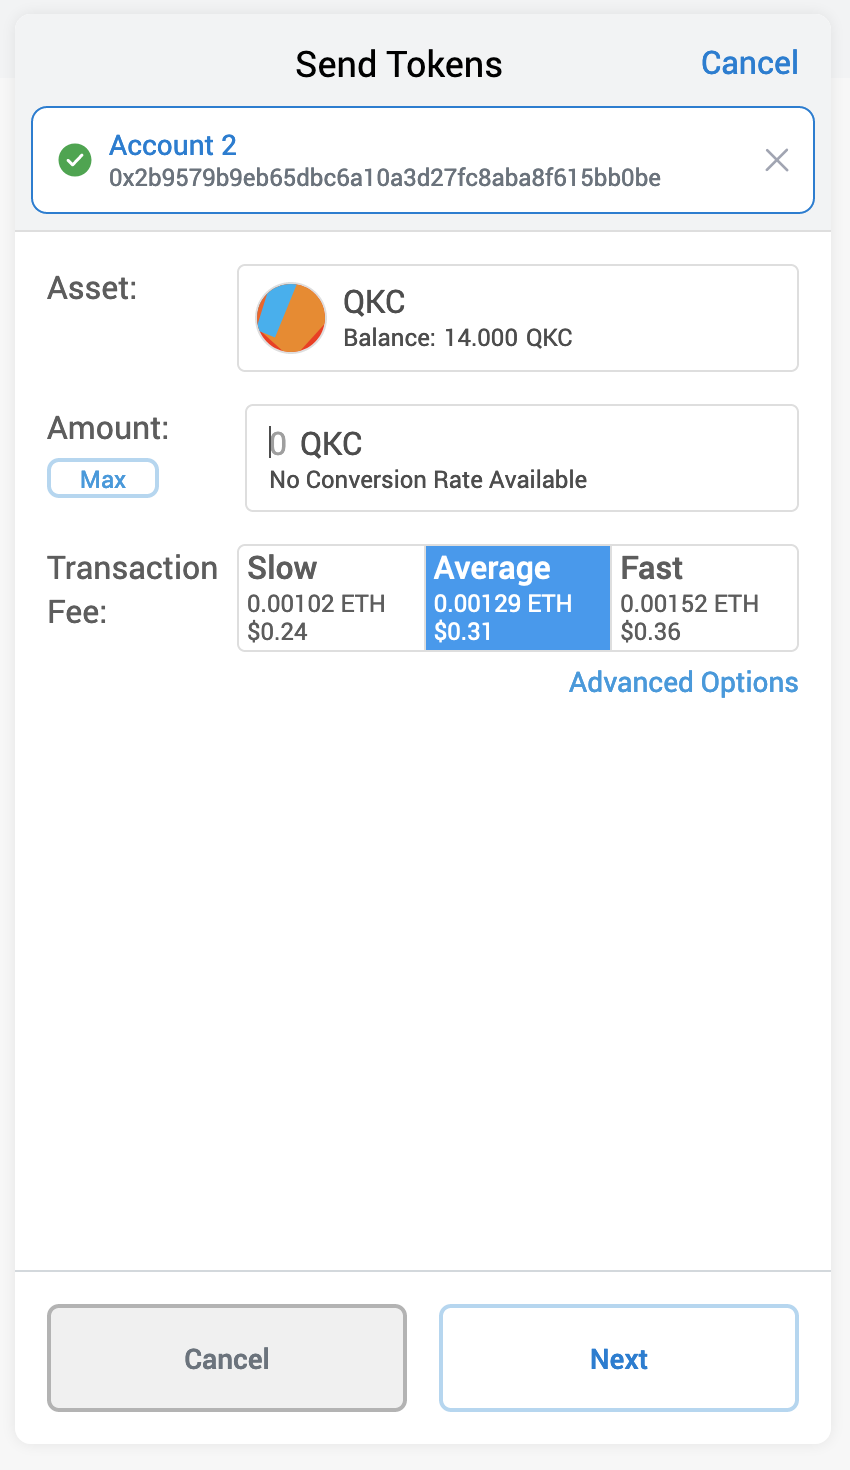

Then click ‘Confirm’.
Step 10:
On ledger Ethereum app, choose ‘Accept and send’ and click on both two buttons to confirm the transaction, the transaction will be sent successfully!
It’s all done!